After hours of planning and assembling, I have finally completed and mailed out our wedding invitations! I enjoyed creating our invites and was surprised at how much I saved by “DIYing” the wedding stationary! I knew the invites would be a labor of love, so I set aside a few hours to work on them each weekend. Not only was it great to watch the planning stages turn into fun craft projects, but I learned a lot along the way! Below, I’ve included a 9-step process on how I created the invites for our upcoming wedding. For a video overview, scroll to Step 7 below!
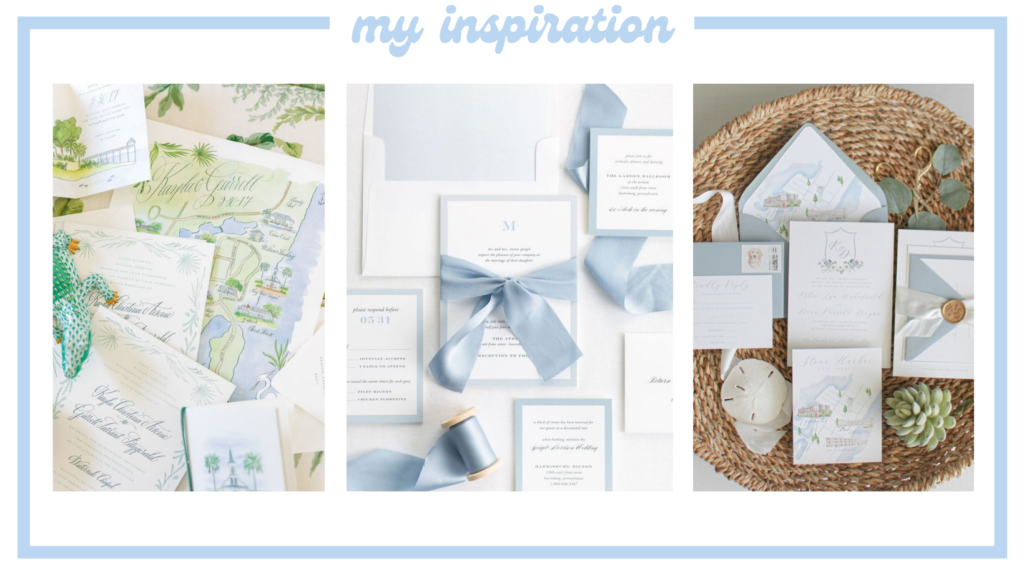
If you’ve been here before, then you know I’m quite literally OBSESSED with blue and white everything. Somehow, I’ve managed to convince my fiancé that purchasing (and hoarding) ginger jars is a smart investments (we’re using them as centerpieces at our wedding). Because we chose to use this classic color scheme throughout our wedding décor (check out my wedding inspiration post here), I was excited to carry it into our invites.
I fell in love with several wedding invitations suites, but didn’t want a significant portion of our wedding budget to go towards stationary (my dream invites from Shine totaled $1,300+ 😧 le gasp!). Since I consider myself a crafty lady, I took it upon myself to come up with something elegant yet somewhat budget-friendly (although, if I’m being totally honest, the budget is already blown to smithereens).
Step 1: Pick out Invites
I played with the idea of designing our invitations from scratch on Canva, but wasn’t knowledgeable on how to print them and still maintain great print quality. However, you can absolutely choose that option and save even more with a little research!
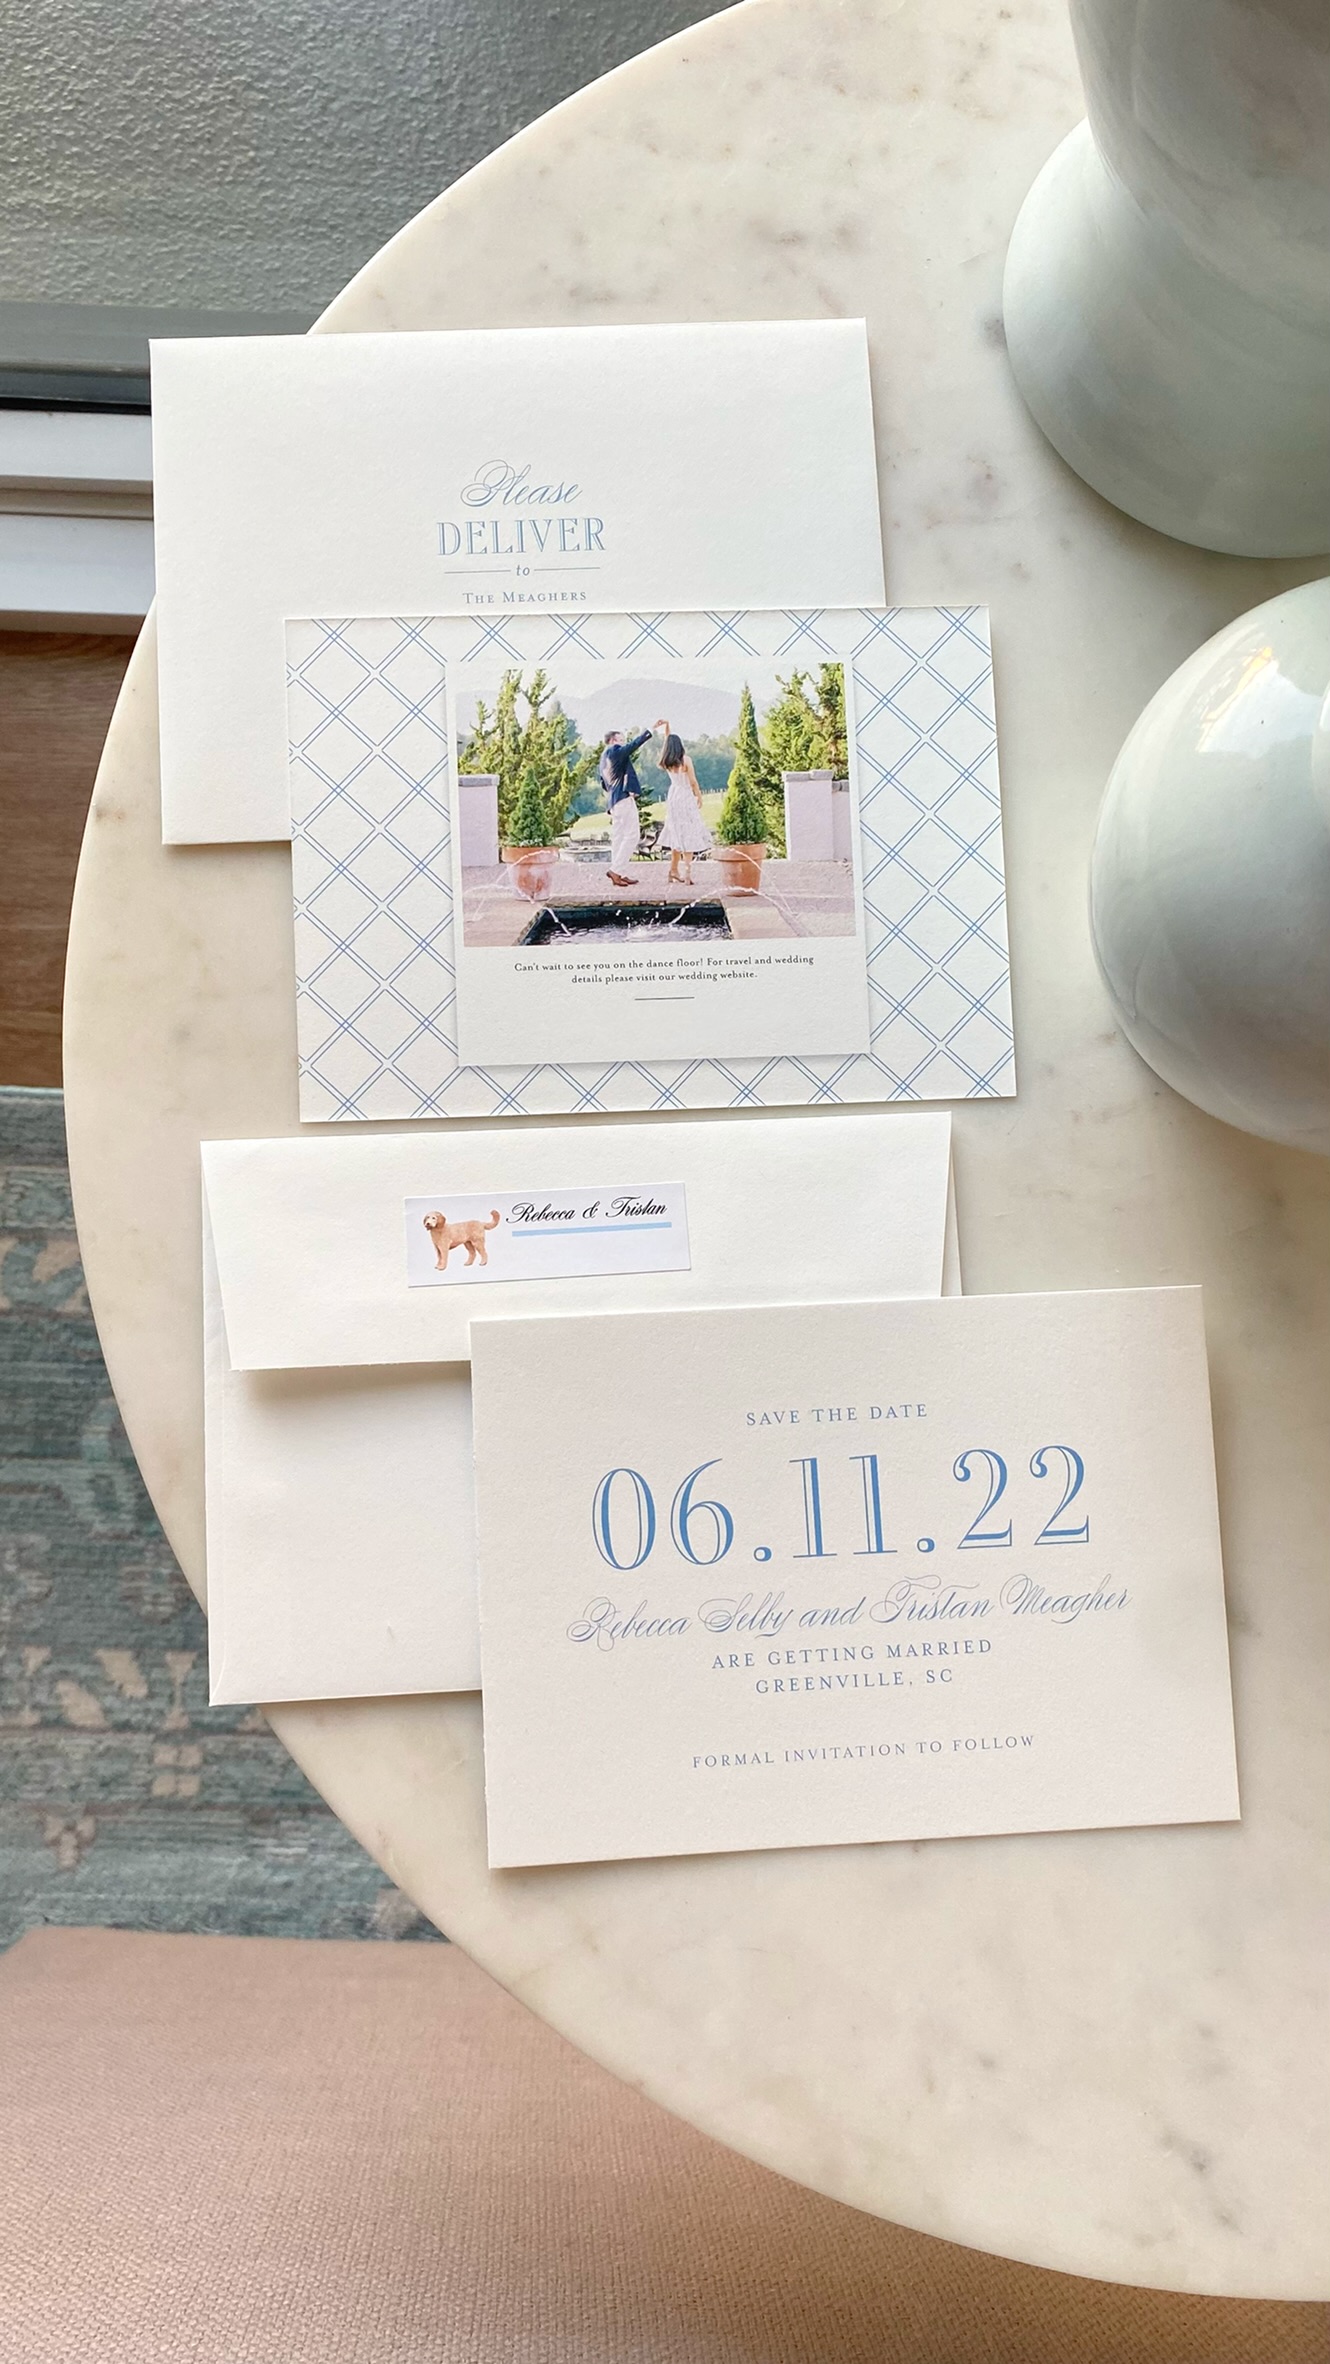
I ended up selecting the Hepburn suite invitations from Minted Wedding, which is simple yet sophisticated. To save on stationary, we applied a 25% off our wedding planners provided. There are always deals popping up on Minted’s website, so keep an eye out for coupons! Additionally, I opted in to display the artist’s watermark on the back of our RSVP and details card, which saved an additional 10% on each item! This option is available once you’ve added your customized card to your cart.
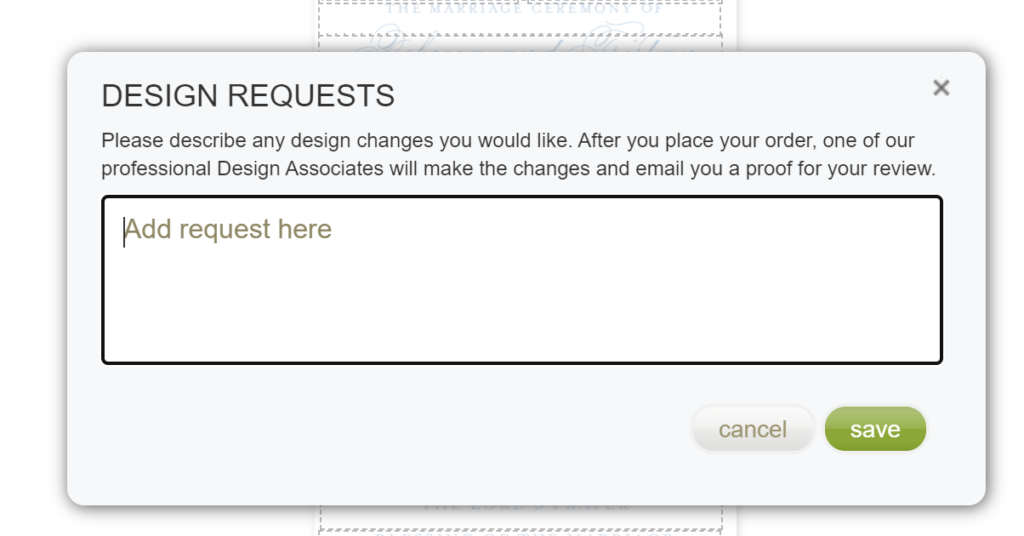
Minted does a wonderful job at allowing you to customize their templates. If there are any changes that need to be made, you can add a note to the design team. After you submit your payment, a Design Associate will work on your requests and your credit card will not be charged until you have approved the final proof! In my experience, the Minted artist was always quick to respond (usually within 24 hours) and made the process so easy!
Additionally, Minted includes free printing for guests’ addresses in the same style and font as your wedding invitation suite. This made everything look professional and was one less thing for me to worry about. The only part that took time was uploading addresses to Minted’s address book. If you already have a local spreadsheet with everyone’s information, Minted has instructions on how to format it for an easy upload to their site. Note: just like Chipotle guacamole, adding a return address is an additional fee! For the quantity we selected (85 invites), it was about $57 to put our address on the back. I knew this was an easy step to cut out to save money, since I had a cute alternative option based on materials I already owned (refer to Step 2 below)!
Step 2: Add Return Labels

If you wanted to save time, you could easily pay the extra fee to have your return address printed on your stationary. If you didn’t want to spend anything on this step, you could simply just write your address over and over.
For a cost-effective and hand-cramp-avoiding option, I decided to use what I had around the apartment to create customized return labels. I went to Avery.com and found a FREE template (Style: 18160), that had the perfect layout for return labels. You can purchase the corresponding sticker sheets here, which print out 30 labels per sheet. I already owned 8.5 x 11 inch sticker paper sheets at home, so I used my inkjet printer to create custom labels with the Avery template, and then cut the tabs out with my paper cutter. In the end, this was no extra cost for our invitations. Even though Deacon will not be participating in the wedding, he had to make an appearance somewhere!
Step 3: Create Pre-Made Wax Seals

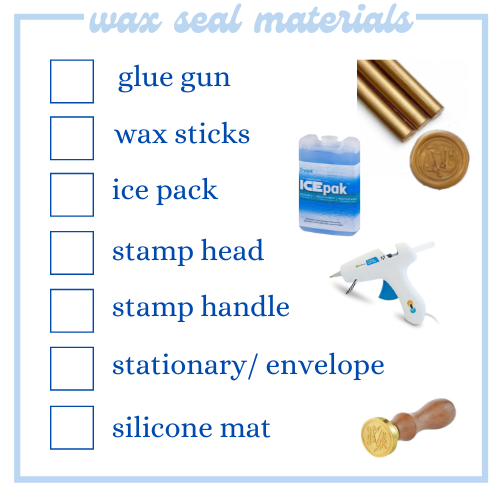
If this step has you stressed out, don’t fret! This was incredibly easy to accomplish, and I was able to knock out 100+ wax seals in under an hour (as a first-timer)!
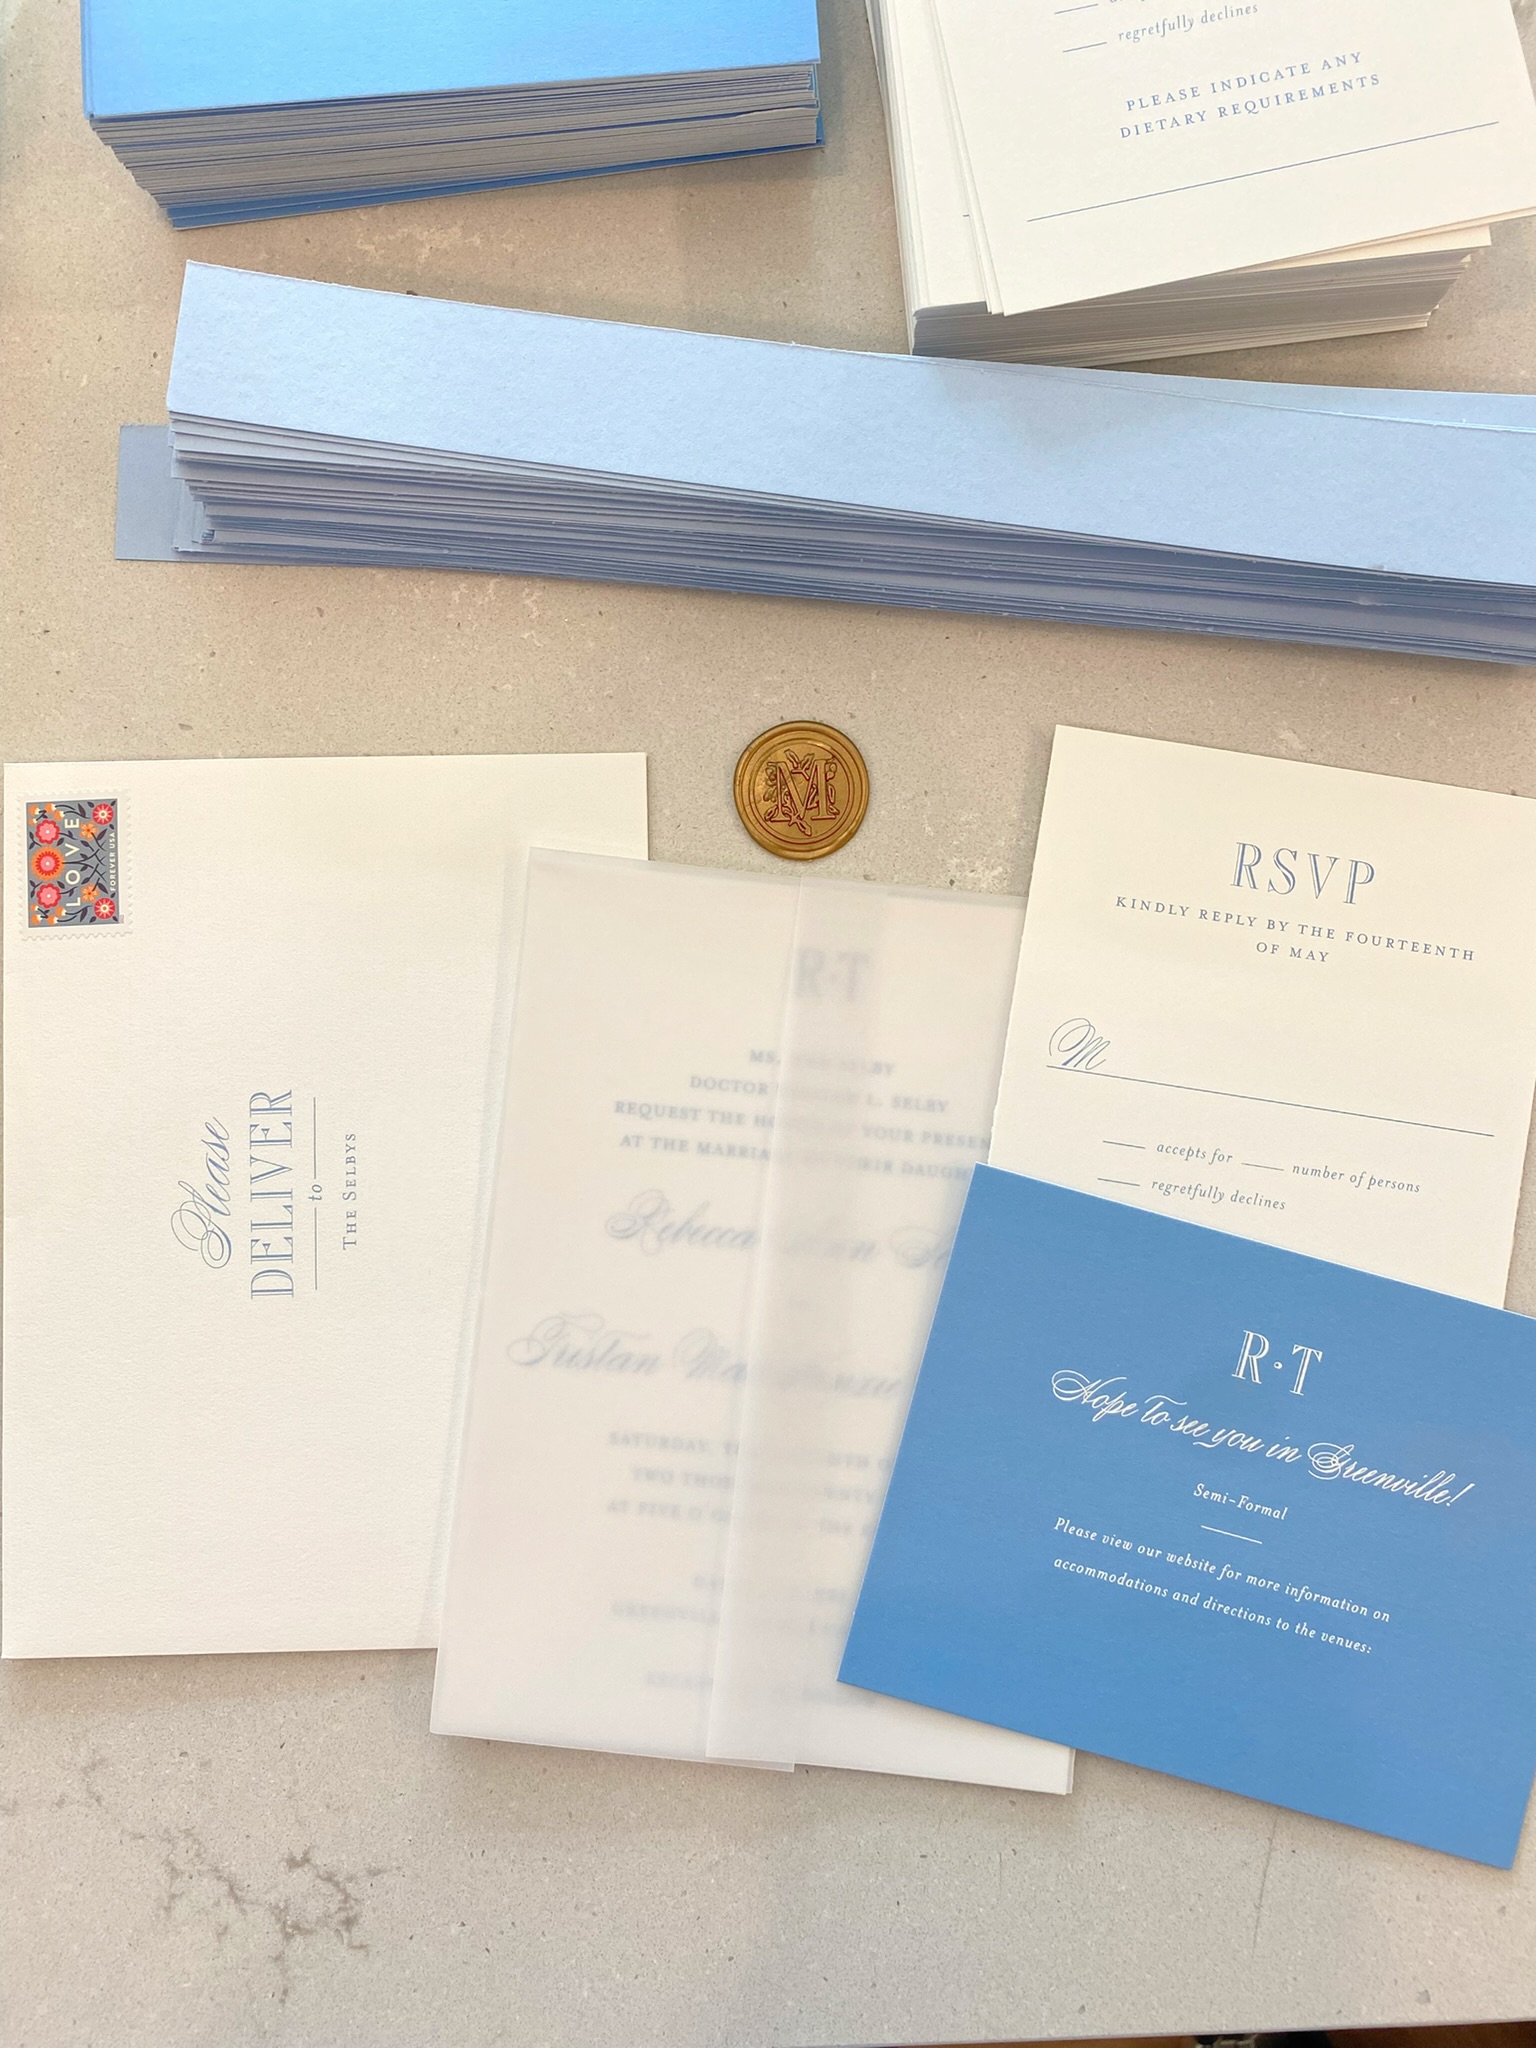
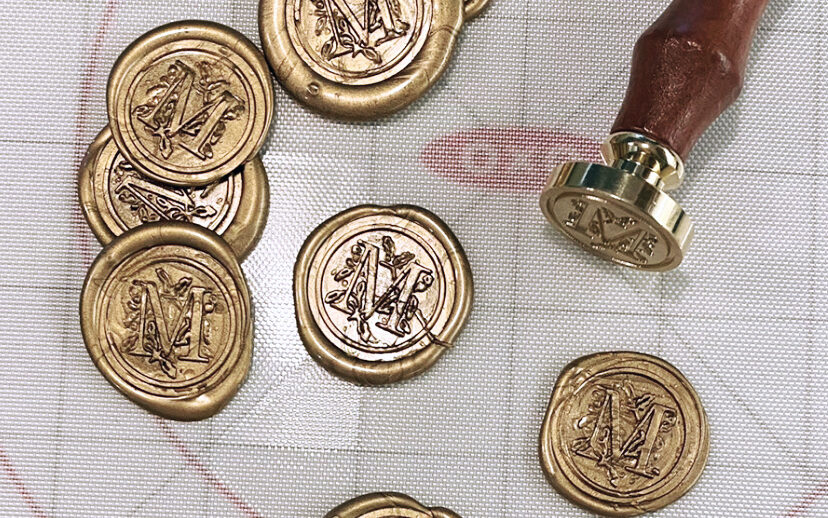
I love how fancy envelopes look with the old-fashioned method of sealing. I knew I wanted to incorporate wax seals into our invitations somehow, but was worried about sending exterior seals through the postal system (it can be done!). In the end, I decided to use the seals to hold the belly band together, which enclosed all of our stationary elements.
Creating wax seals appears like a lot of work, but it was not difficult to pick up and only required a few materials. For a detailed breakdown of how I created my wax seals, check out my earlier blog post here (which also includes a helpful video you can watch!).
Step 4: Cut Belly Bands

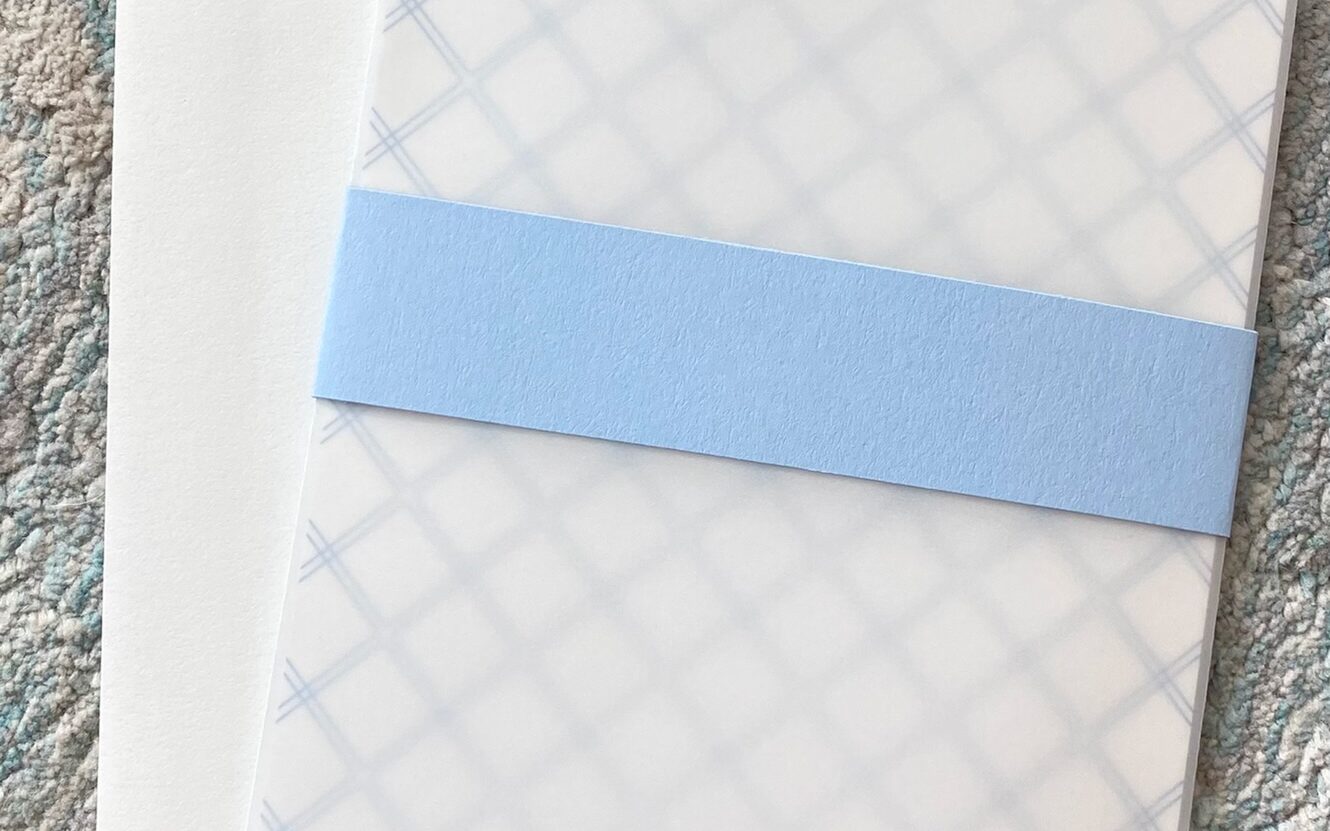
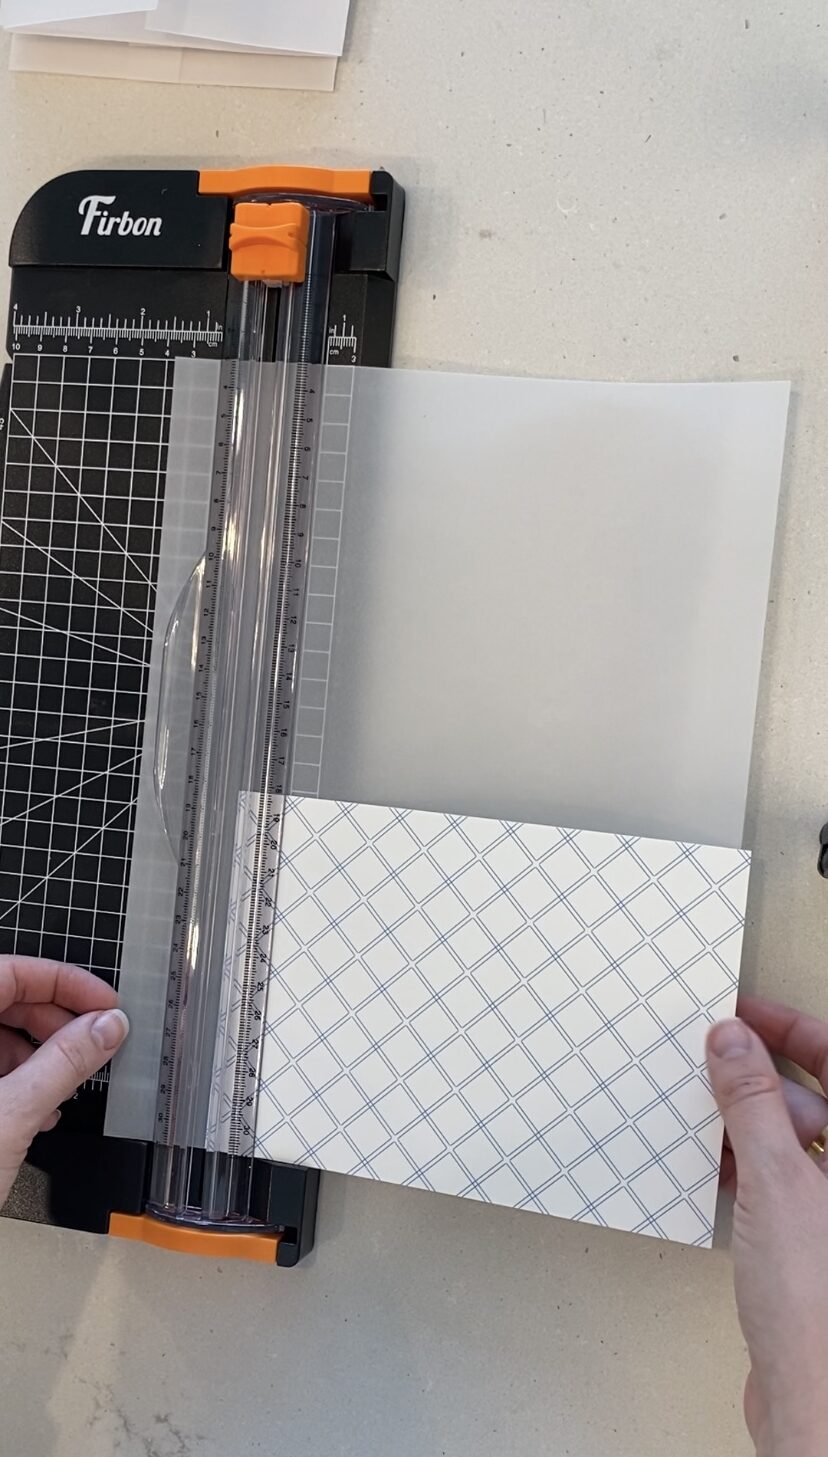
Next, I used my 12-inch paper cutter and light blue cardstock. Before I cut the paper, I played around with what belly band sizes looked proportional on my invitations (size: 5 x 7). After some trial and error, I landed on strips about an inch and a half wide. Once I decided on a size, I used my paper cutter to knock out enough strips to use for my invitations.
Note: I noticed that after cutting, there were a few edges that didn’t have a clean cut. I used scissors to carefully trim the fuzzies off.
Step 5: Cut Vellum Sheets
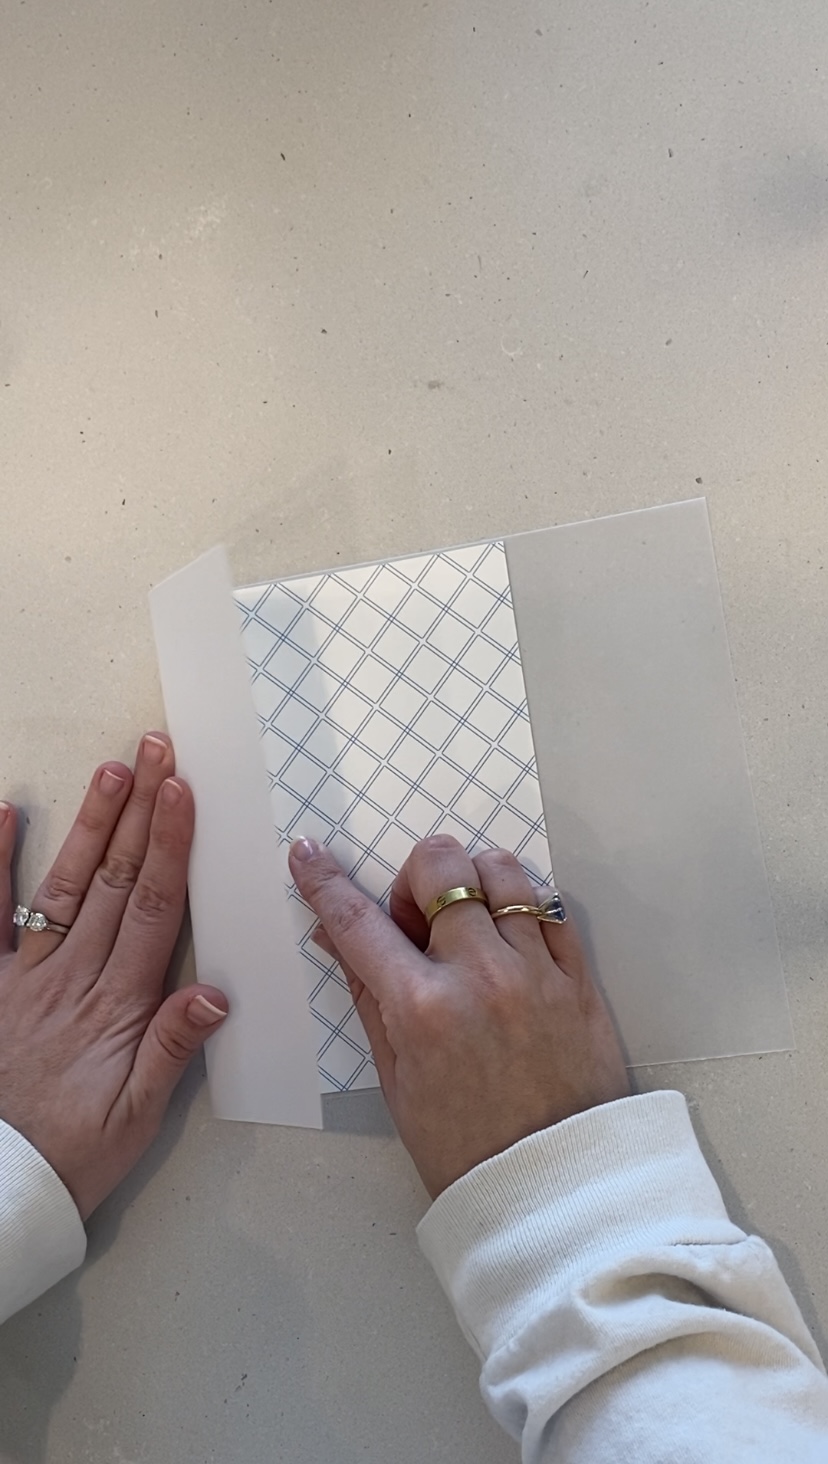
I purchased translucent vellum sheets from Amazon to wrap around my invitations. At first I purchased pre-folded sleeves for 5×7 cards. However, upon their arrival, I realized they were too large and my envelope wouldn’t close with them inside. I returned these and found un-folded sheets that weren’t cut to size. I used my invitation as a template and cut the vellum to fit the height of my card. Then, I placed the card in the middle of the sheet and folded each side down. I didn’t measure it, just eyeballed it! I used an old Cricut tool (scraper) to flatten the edges for a clean finish. As you can see, this was where I spent most of my time when creating our invitations. I had to manually cut each vellum paper to size for 85 invites! Hopefully you’ll have better luck than me at finding pre-folded vellum sheets that fit!
Step 6: Add Stamps to Invitation and RSVP Envelopes
Next, we ordered stamps and stuck them on to both the invitation and RSVP envelopes. USPS came out with some really cute designs this past January. Even though guests throw away the envelopes, I thought it might be nice to have a cute stamp for the same cost! We chose the “LOVE” stamp, which I recommend ordering online if you have the time to wait for shipping! I stopped by a few post offices near me and they didn’t have any of the decorative stamps in store. I also recommend weighing your completed envelope, just to make sure one first-class stamp is enough to cover it (up to 1 oz.). You could even mail yourself a test invite to ensure it arrives!

Step 7: Organize RSVPs to Guest
You’re almost done with invites- don’t skip this step! One of the most important tips to staying organized, is to add a number on the back of your RSVPs. Why you ask? Due to their excitement of receiving your beautiful invite, some of your wedding guests may forget to legibly write down their name on your RSVP card or they may even forget to include their names at all!! To avoid this issue, I recommend taking the following steps BEFORE you send out your wedding invitations:
- Number your wedding guest list- I kept track of this in an Excel sheet.
- Before you include the RSVP cards into your wedding invitations, discreetly write a tiny number on the back of each of your RSVP cards. The numbers on the back of the RSVP should correspond with the number on your wedding guest list.
Now, if a wedding guest forgets to write his or her name on the RSVP card, you’ll be able to identify that guest by matching the number on the back of the card with the corresponding number on your guest list.

But wait, you say- I’m worried my guest will see the small number on the back and think it is a reflection of their importance to me!! Worry no longer- you can order an invisible ink pen (here) to write numbers on the back that will only be revealed in UV light. Crisis averted (sorry in advance to my guests, I didn’t do this 😂).
Step 8: Assemble
After I finished creating the gold wax seals, blue belly bands and vellum sleeves, it was finally time to assemble! I placed the invitation, RSVP card, RSVP envelope and details card in the vellum sleeve. I took the belly band and folded it on the outside of the vellum. I used my Cricut scraper again to flatten the edges. Then, I used my hot glue gun to glue the pre-made wax seals to hold the belly band together. Note: don’t forget to keep the hot glue gun on a low setting to prevent the glue from re-melting the gold wax!
Check out my TikTok video below!
Step 9: Seal Envelope and Mail!
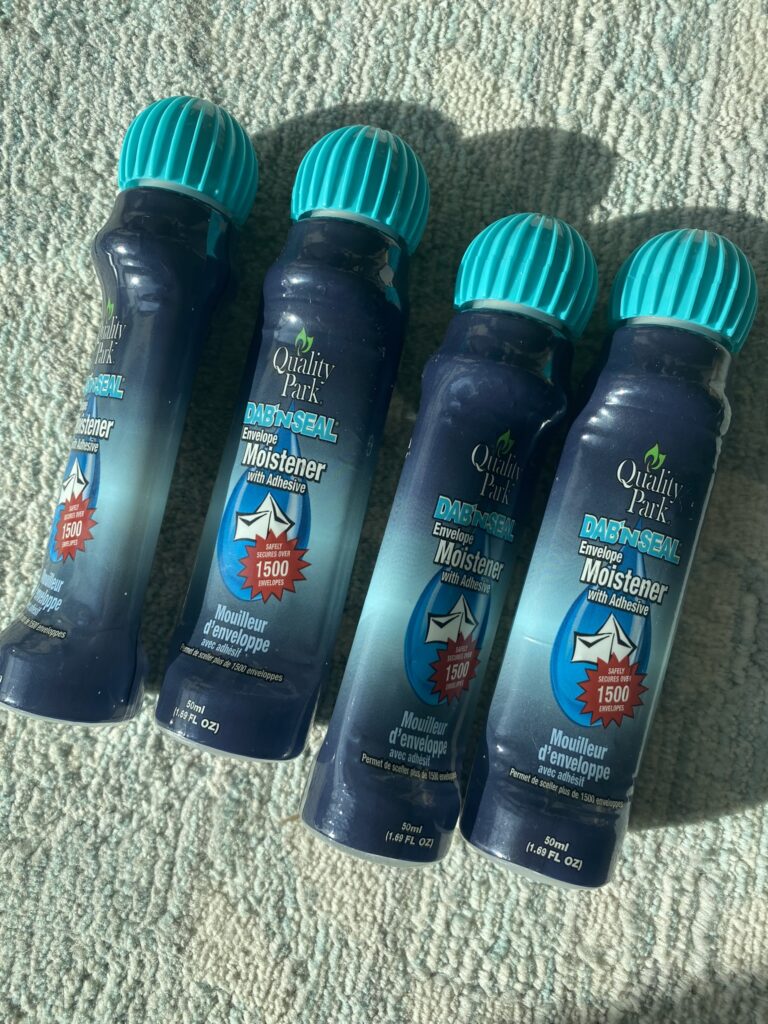
You know the drill. The last step is to seal the envelopes that hold the invitations and send them on their merry way. Before you spend energy (*ahem spit*) on sealing ALL of those envelopes, wait! I purchased an envelope moistener with adhesive to quicken the process and it was a life saver. The Amazon description says I can seal 6,000 envelopes between the 4-pack I bought! Looks like I’ll never have to lick another envelope again my entire life.
I would love to know what tricks or tips you learned when creating your own wedding stationary! Since mailing my invitations out last week, I’ve received several texts from my sweet friends sharing how much they enjoyed opening our invite! And that makes all the hard work worth it!
